How To
Top 5 Must-Have Outdoor Gear Pieces for Camping and Backpacking
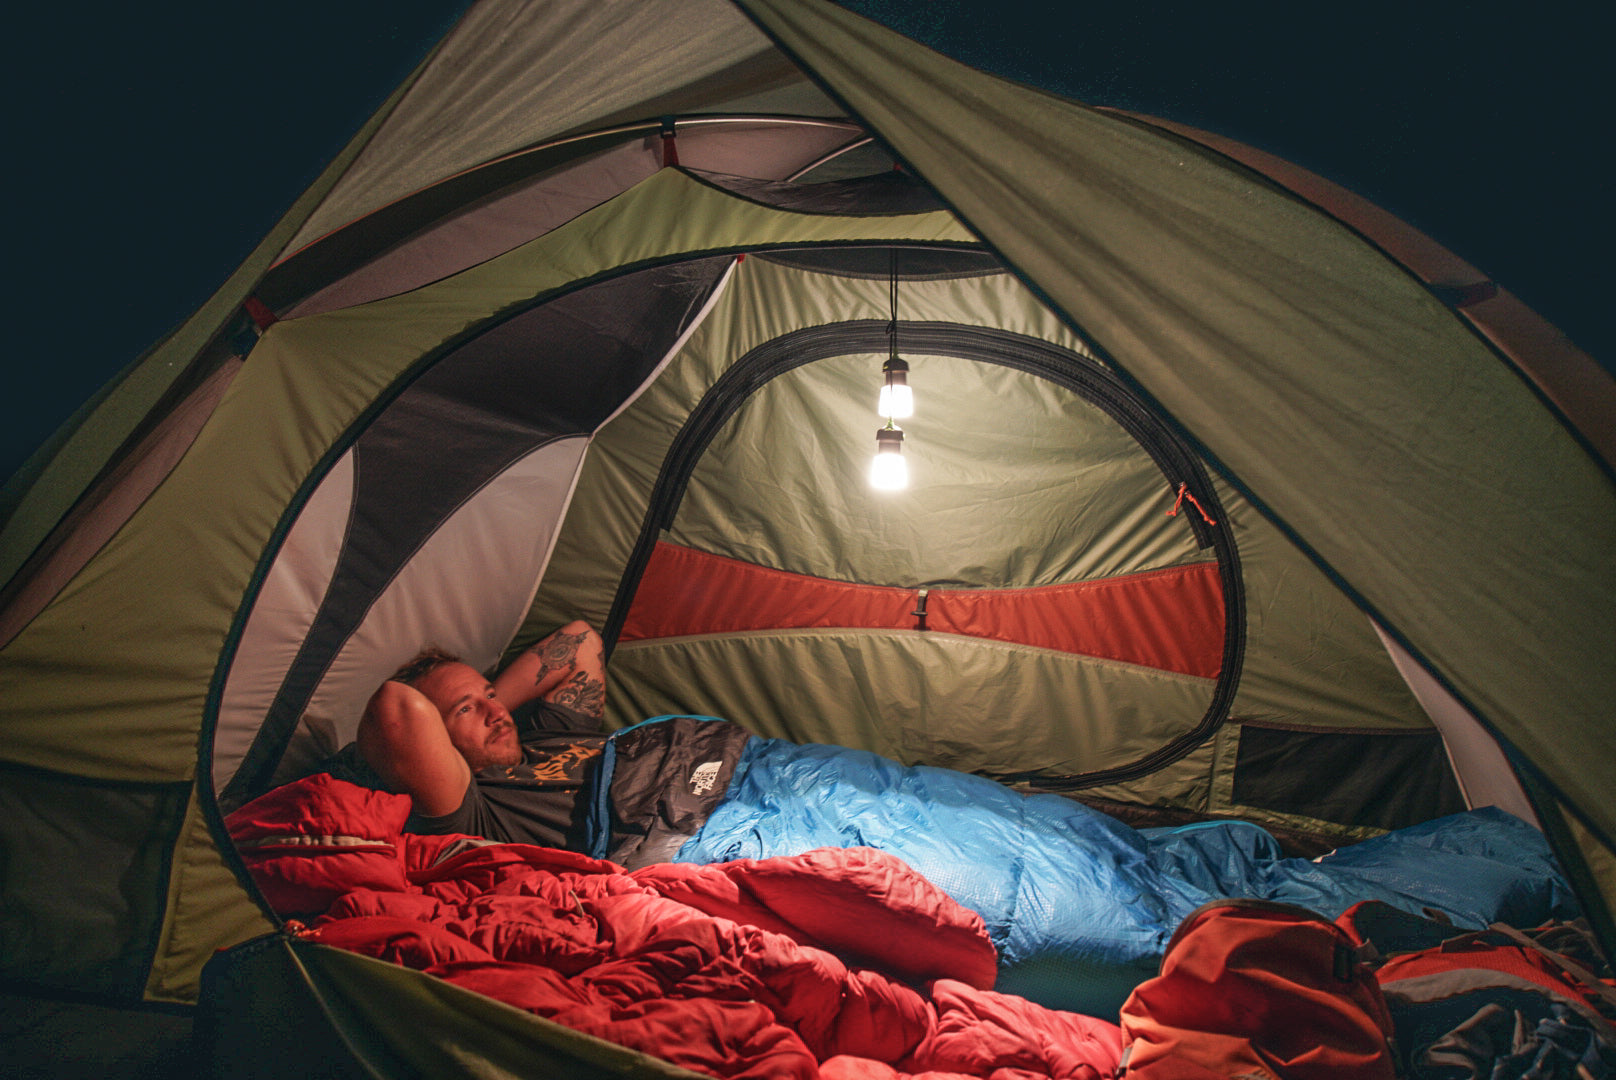
Here are 5 must-have items to make your camping or backpacking trip a little more comfortable and/or safe, courtesy of Kilimanjaro Gear expert Connor. He should know...he's spent hundreds of nights...
How to
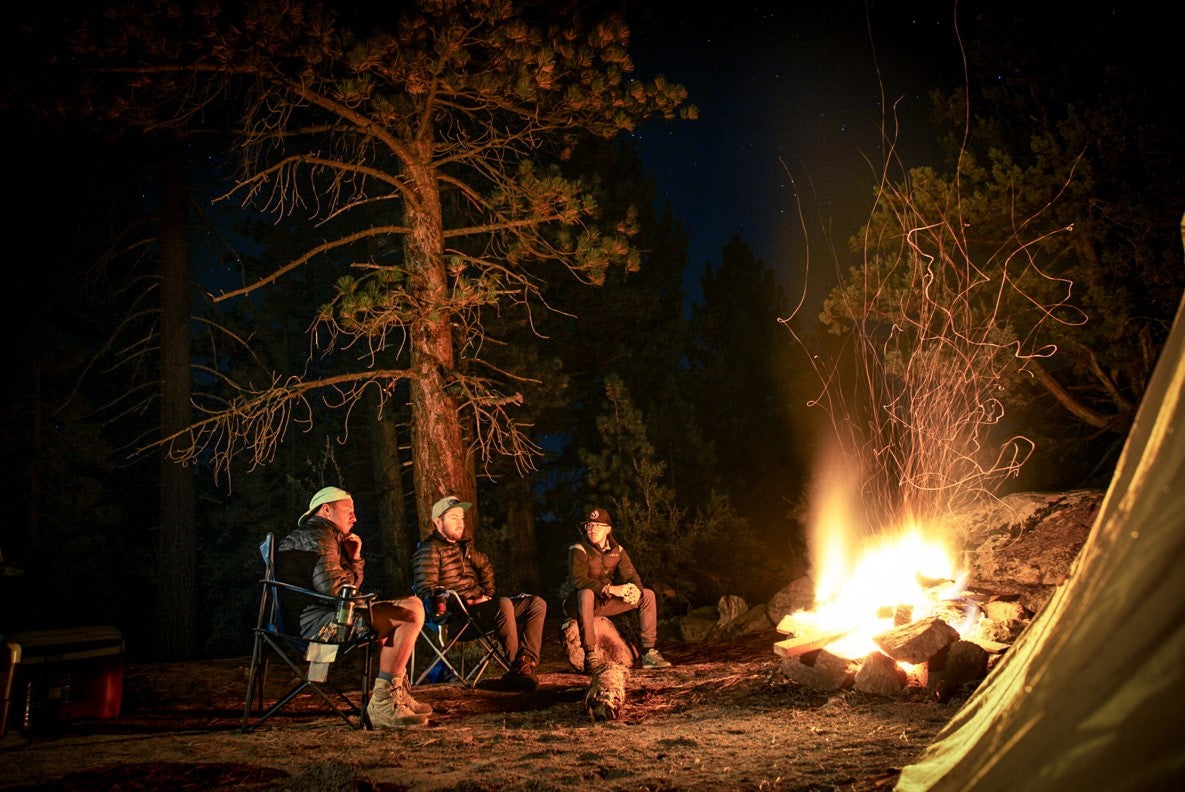
5 Tips For Better Nighttime Outdoor Photos
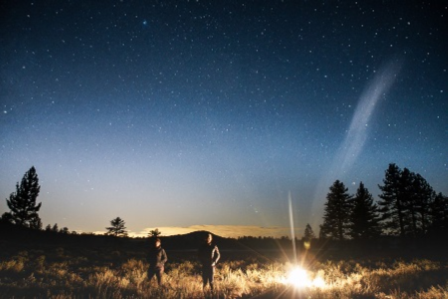
Here are 5 how to tips for taking better nighttime photos in the great outdoors, courtesy of Kilimanjaro Gear expert Connor. He should know...he's taken thousands of nighttime photos in every outdo...
How to
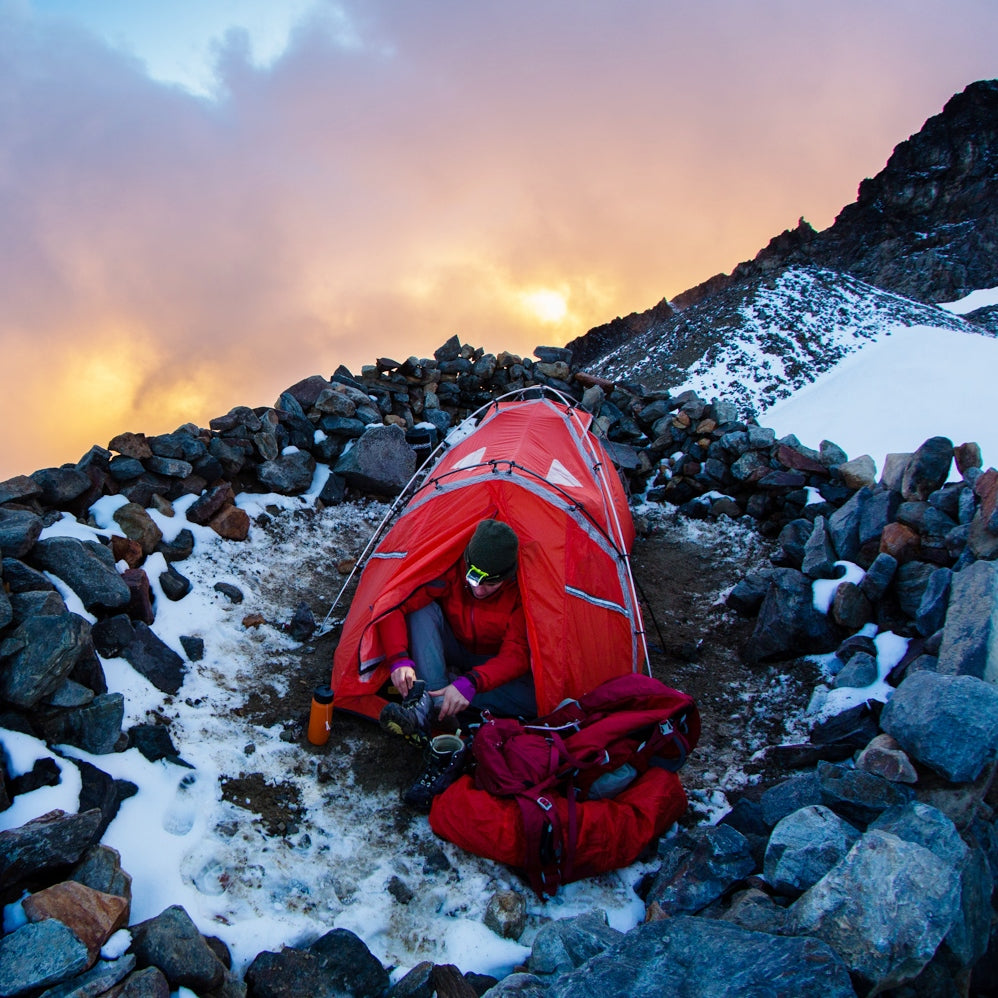
How to Climb Mt. Whitney
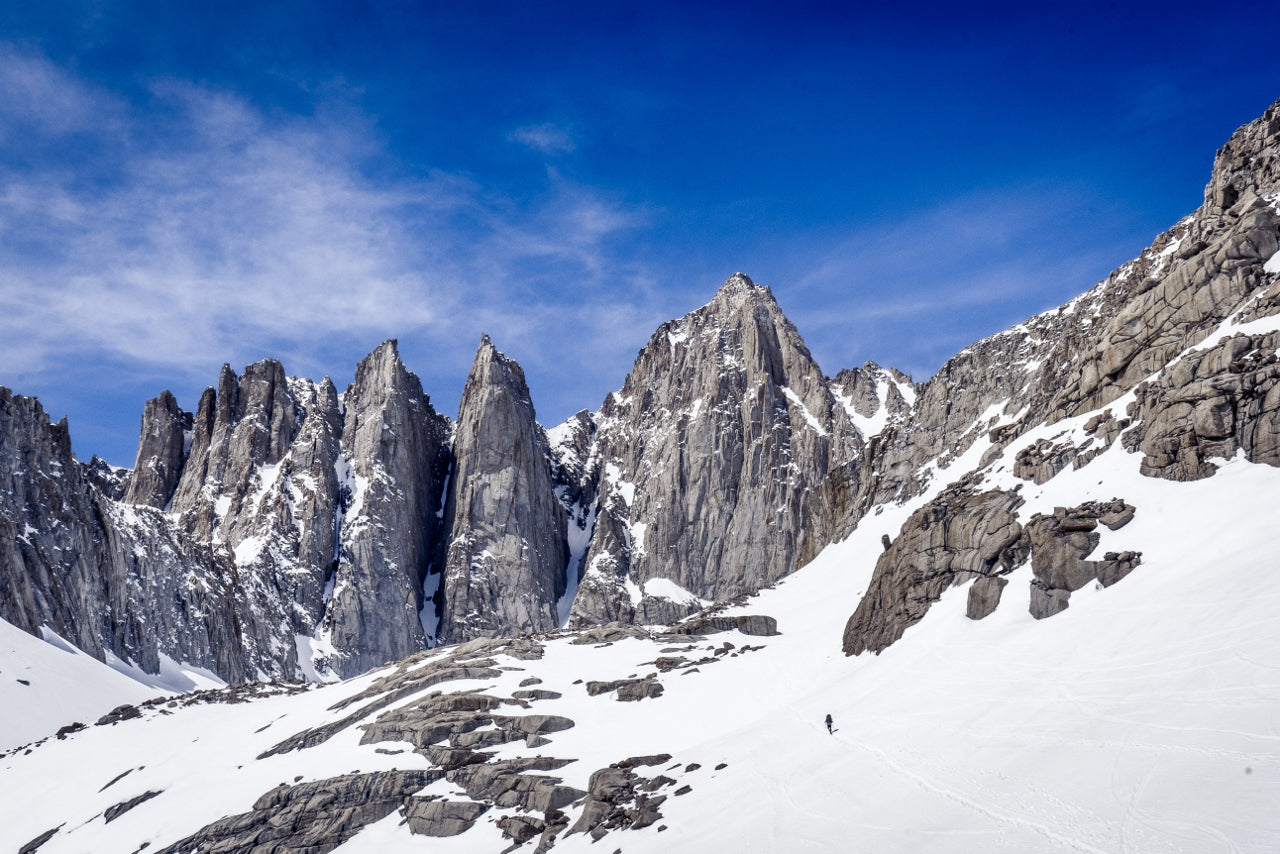
Mt. Whitney is a bucket list climb for hardcore and newbie climbers and hikers alike. Tall as Whitney is, the summit is within reach for well-prepared mountaineers.
Kilimanjaro gear expert Connor h...
How To Build A Perfect Campfire - Part 2
You can build and enjoy a warm and wonderful campfire. In Part 1, Kilimanjaro Gear expert Connor gave you how-to tips for building a roaring campfire in dry conditions.
In Part 2, Connor gives yo...
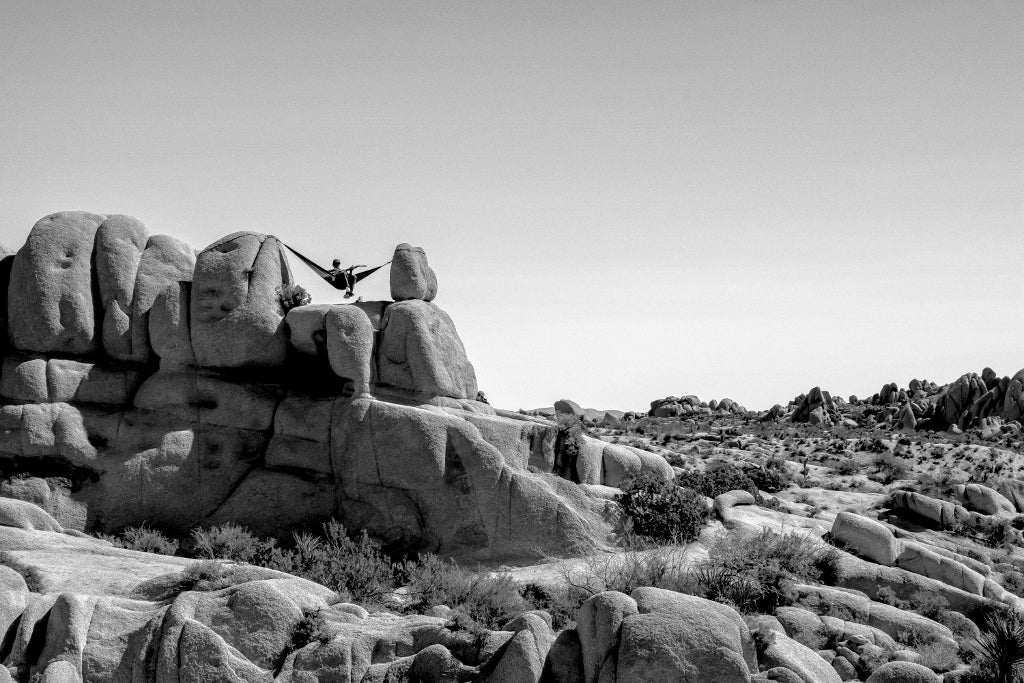
How To Take Great Outdoor Photos
Here are 5 how to tips for taking better photos of the great outdoors courtesy of Kilimanjaro Gear expert Connor. He should know...he's taken thousands of photos in every outdoor setting you can im...
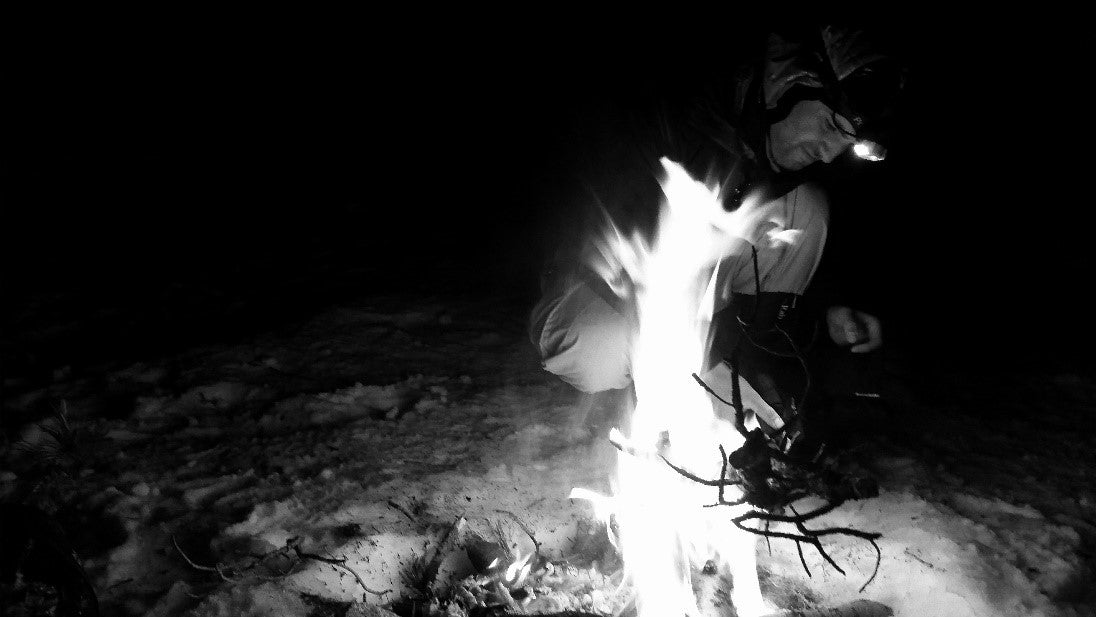
How To Build A Perfect Campfire - Part 1
You can build and enjoy a warm and wonderful campfire! Kilimanjaro Gear expert Connor has the how-to tips you need be anointed Grand Zen Firemaster of your campsite.
So you have all the backpacki...
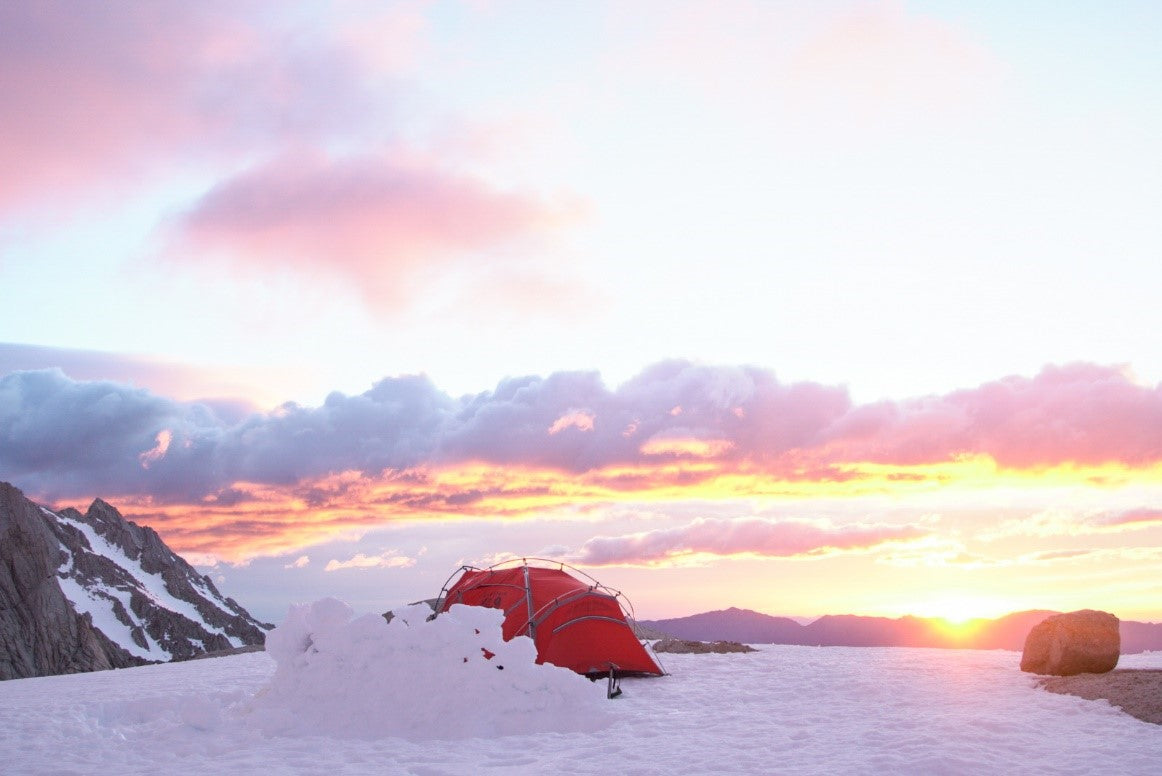
How to Camp in Winter - Part 2
Camping in winter might sound a bit crazy, but Kilimanjaro Gear expert Connor has the how-to tips you need for a safe, comfortable and fun winter camping adventure.
How to Camp in Winter - Part 2
...
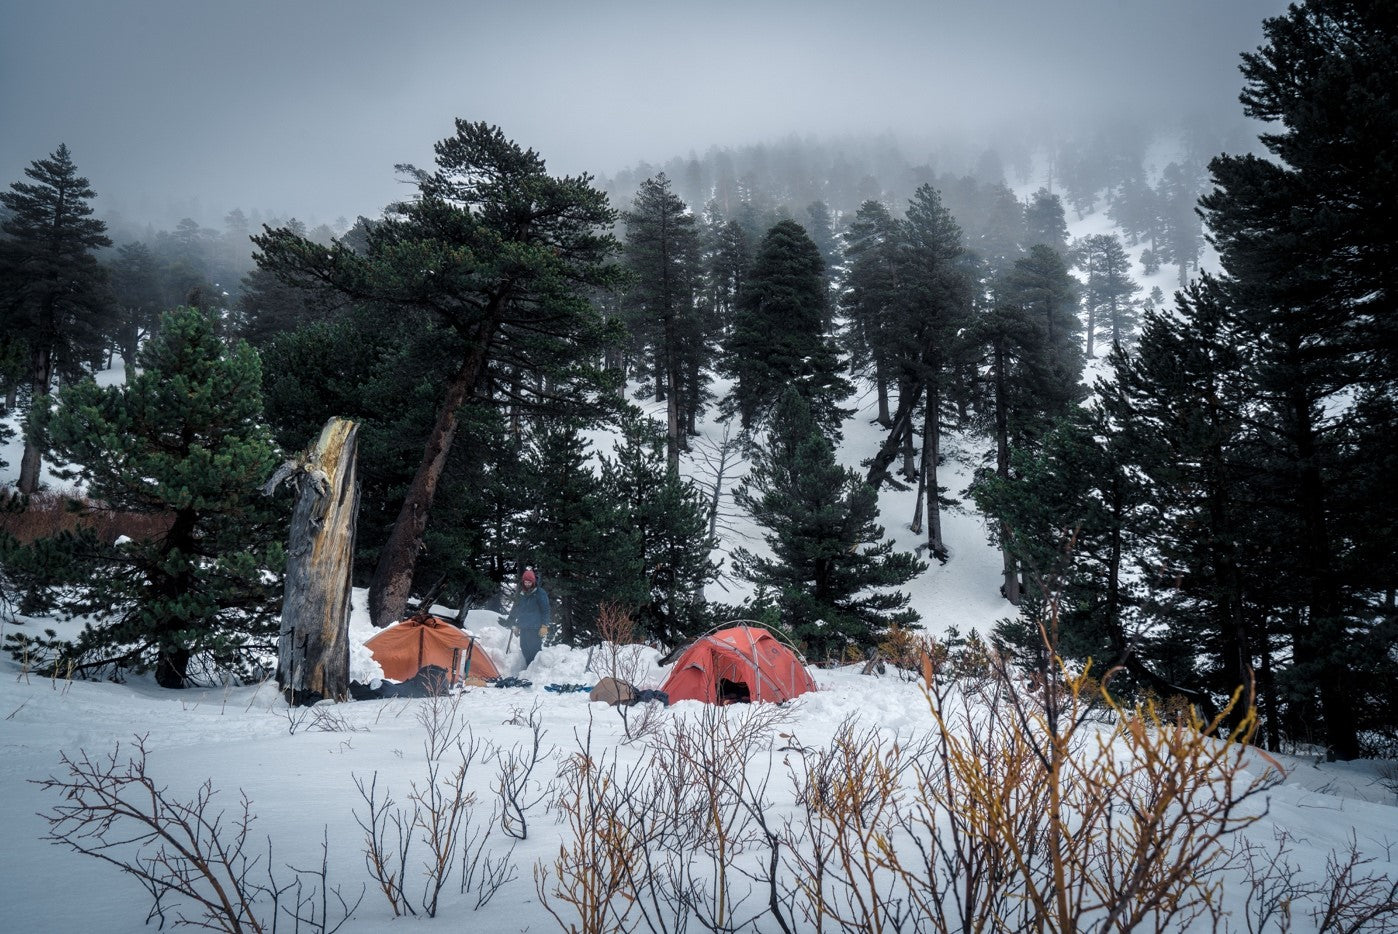
How To Camp in Winter - Part 1
Camping in winter might sound a bit crazy, but Kilimanjaro Gear expert Connor has the how-to tips you need for a safe, comfortable and fun winter camping adventure.
Here's Connor...
"Wait, did I r...
5 Great Gifts for Outdoor Enthusiasts
Need last minute gift ideas for the campers, backpackers or hikers on your list? Check out this list of 5 great gift ideas for outdoorsy types, courtesy of gear guru Connor.
Ah the holidays – full...