Here are 5 how to tips for taking better photos of the great outdoors courtesy of Kilimanjaro Gear expert Connor. He should know...he's taken thousands of photos in every outdoor setting you can imagine.

Here's Connor:
Being outdoors is great. The beauty, adventure and the sights you get to personally witness are the things that draw us to the outdoors.
It's only natural to want to capture some of the best scenes for our memory books. Yet often the photos we take don't come close to capturing the true scale, color and magic of a special moment.
Why don't your photos do justice to the experience you're trying to relive? It can be a number of things. Most of the time it isn't the camera you're holding that's holding you back - it's the operator (a.k.a you).
Never fear, though. A few simple tips can take your photos from bad to badass, even with a lower-end camera.

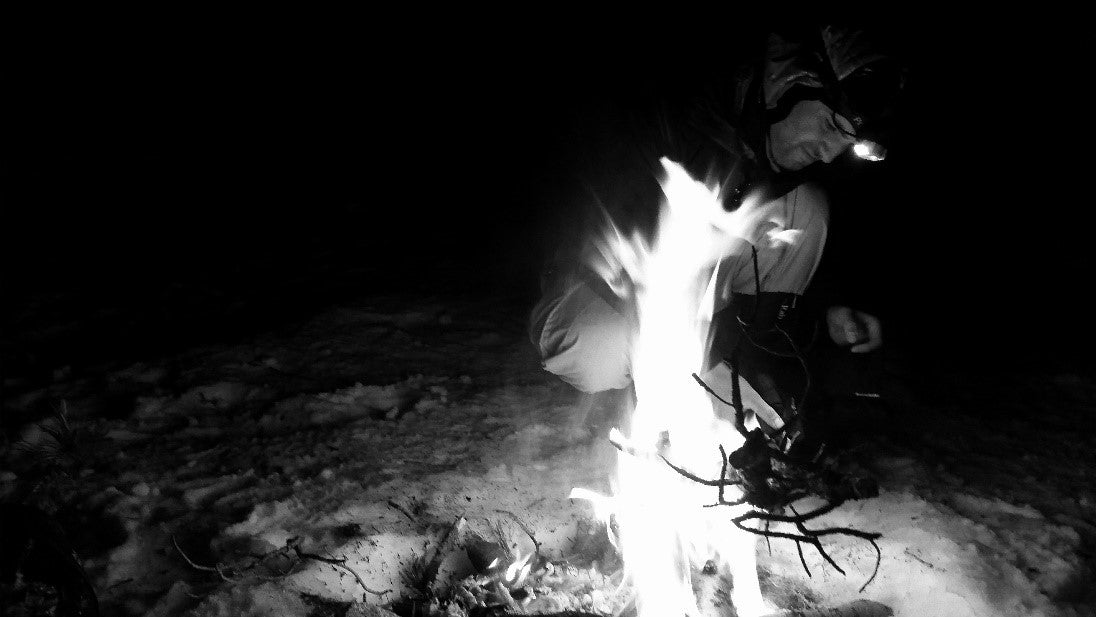
1. Use the Manual Setting
Most new photographers make the mistake of letting the camera do all the work for them by using the auto or preprogrammed modes. In doing so, they don’t control the camera, they let the camera control them.
If you want to show off your creativity, you need to be in control of your tools. When a camera is in Auto mode, the camera analyses the scene and makes the decisions on lighting, depth of field, speed, and focus.
That's all well and good unless what you envision in your head isn't what the camera “envisioned.” In Manual mode, you can manipulate the amount of light the camera takes in, how fast you want the camera to shoot and how shallow the depth of field is.
Shooting in manual mode and getting your settings right is a bit complex at first. With patience and practice, you'll learn the difference between ISO, shutter speed, and aperture. And as you experiment with these settings you'll see your photos dramatically improve. For more info on ISO, shutter speed, and aperture click here.
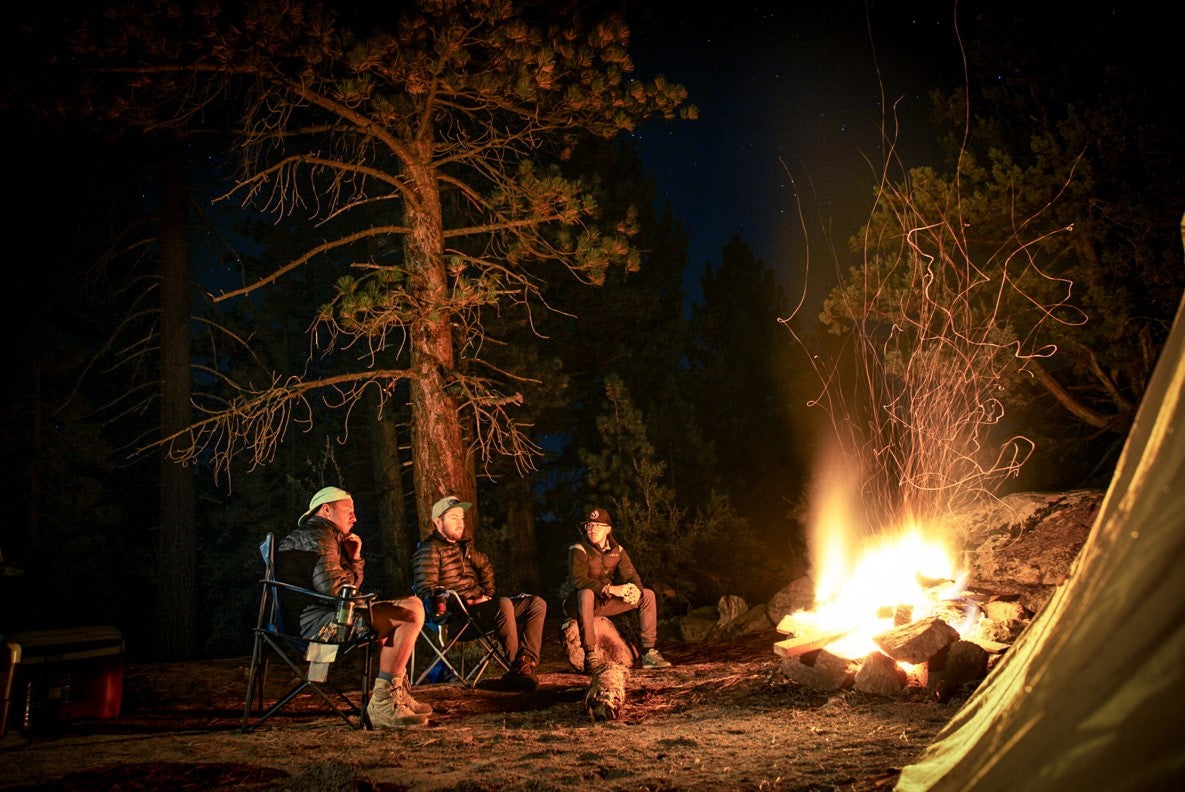
2. Shoot During the Golden Hour
Any photographer will tell you that the best times to shoot outdoors is at sunrise and sunset. These are the "golden hours" when the sun produces vibrant oranges, reds, and yellows that complement the blues and greens found in the shadows.
Many people will simply point and shoot photos in the middle of the day, when light is harsh and direct. This creates overbright highlights and extremely dark shadows. No Bueno.
If you must shoot during the day, shoot in the shadows or on overcast and cloudy days. The clouds will act as a natural diffuser and even out the light for you. But when you get the chance, try shooting within an hour after the sun has risen or the hour before the sun sets.

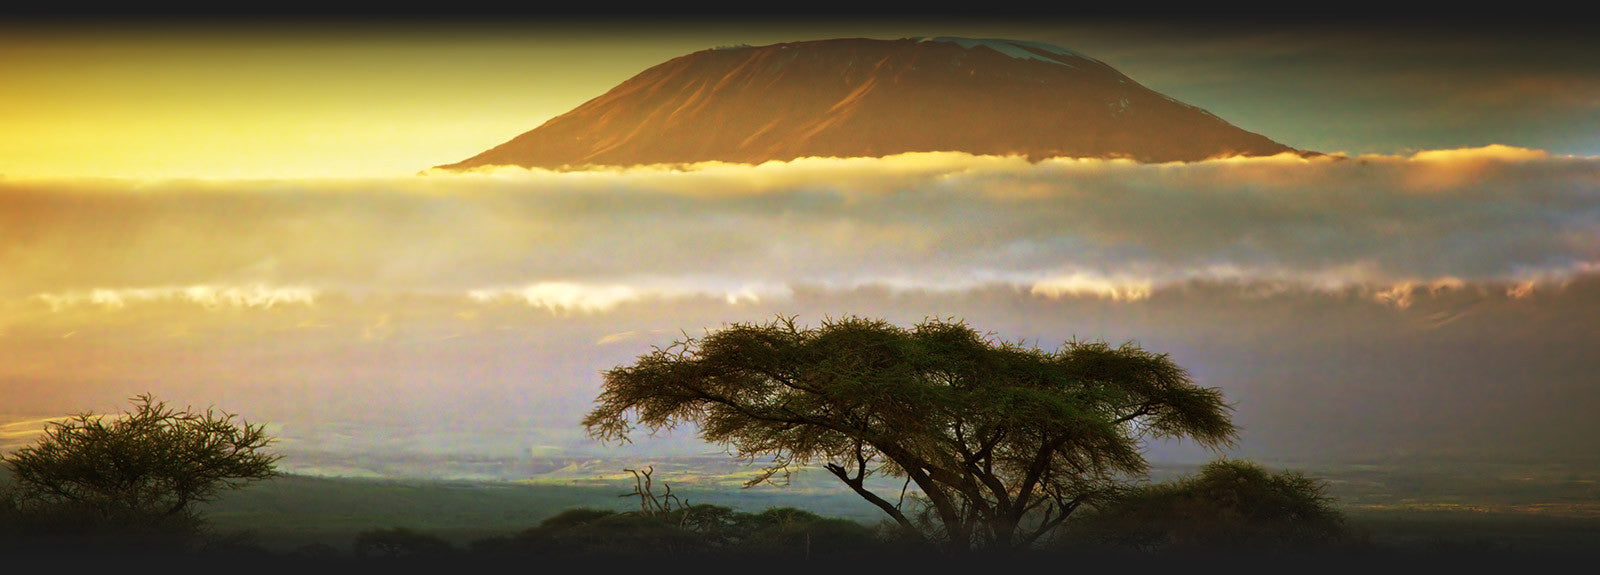
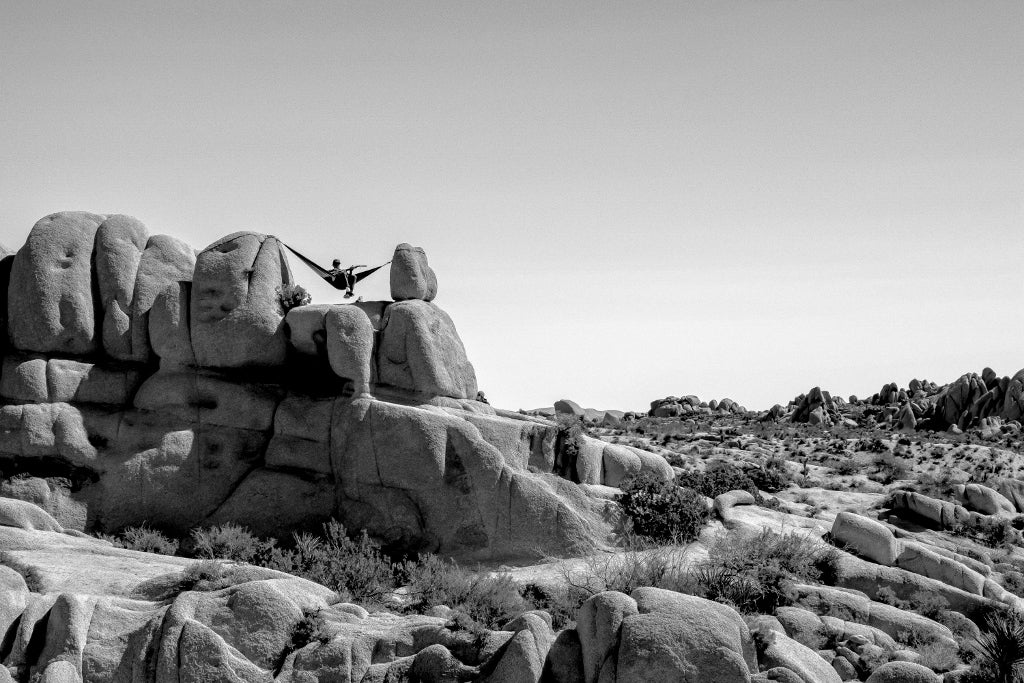
3. Add Scale to Your Landscapes
Sweeping, dramatic landscapes are tempting photo subjects. Trouble is, your landscape photos won't translate the scale of the vista without a reference point.
Here's the fix: add a person to the mix and have them stand far away from the camera. The farther away your subject stands, the more dramatic the photo will feel.
Of course, you still want your subject to be close enough to be visible. If you don’t have a human handy, you can also use a tent, car or bike to set the scale.
(Pro Tip - have your subject wear a jacket in a contrasting color to the surrounding landscape. This will make it easier for the viewer to spot the subject while adding a nice color element to your photo).

4. Use a Polarizer
Although not absolutely necessary, a polarizing filter is a great tool to help cut through haze and reflections. And it can add deeper blues and richer color tones to your photos.
Most polarizers attach to the front of your lens, so you will need to know what size lens you have before purchasing a filter. They also add a layer of additional protection to your lens by blocking dust and debris and avoiding scratches. It’s much less painful to replace a $60 polarizer than a $600 lens. For a list of the top polarizers for your camera, click here.

5. Add Depth to Your Photos
It's easy to just snap a photo of a beautiful landscape without giving much thought to your foreground, midground, and background. Upgrade your photos by adding depth. Be conscientious of where your horizon line is and how the background and foreground play into the shot.
For example, if you are taking a photo at the beach, take note where you are lining up the sand (foreground), water (midground), and sky (background) in the frame. Play with how much of each of these elements appear in your photos and you'll see how the outcome varies.
In the photo below, notice the blurred out rock in the foreground, eyes of the climber in the midground, and spotter/belayer in the background. All these combined give a photo “depth.”

That's it. Now grab your camera, get outside and try some of these tips. Let me know how it goes.
Don't forget to post your photos and tag us on Instagram #kilimanjarogear