Camping in winter might sound a bit crazy, but Kilimanjaro Gear expert Connor has the how-to tips you need for a safe, comfortable and fun winter camping adventure.
Here's Connor...
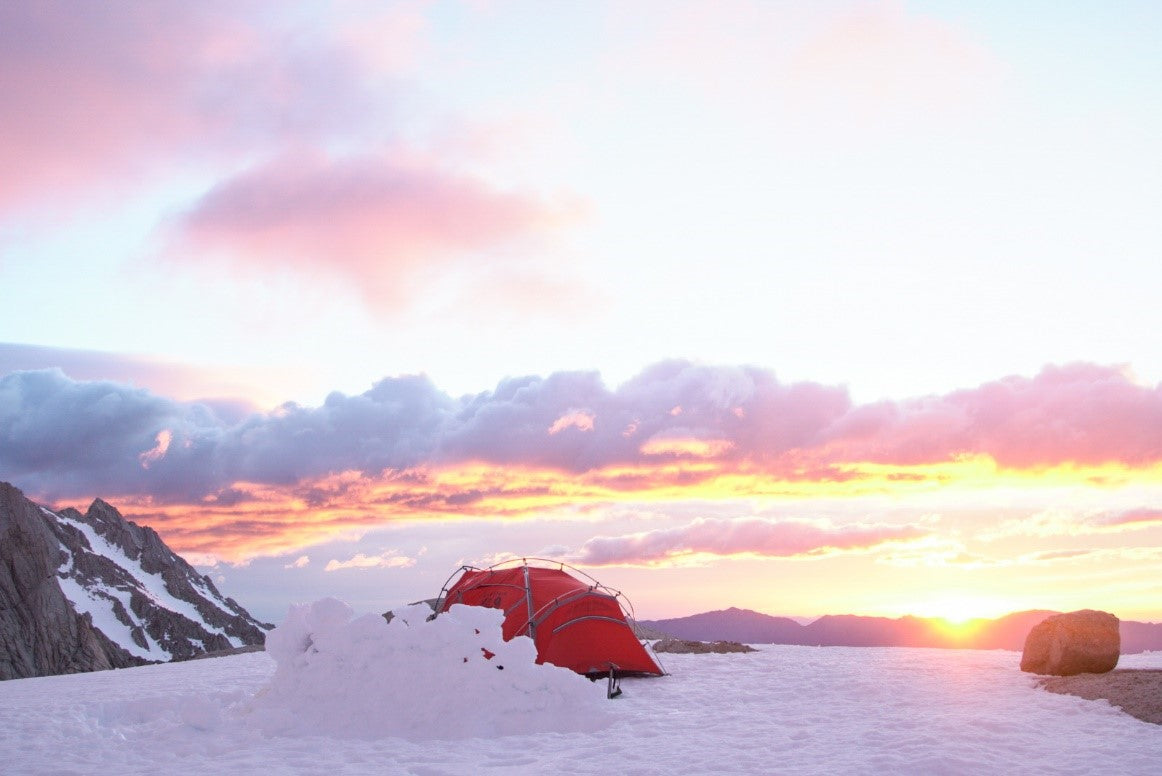
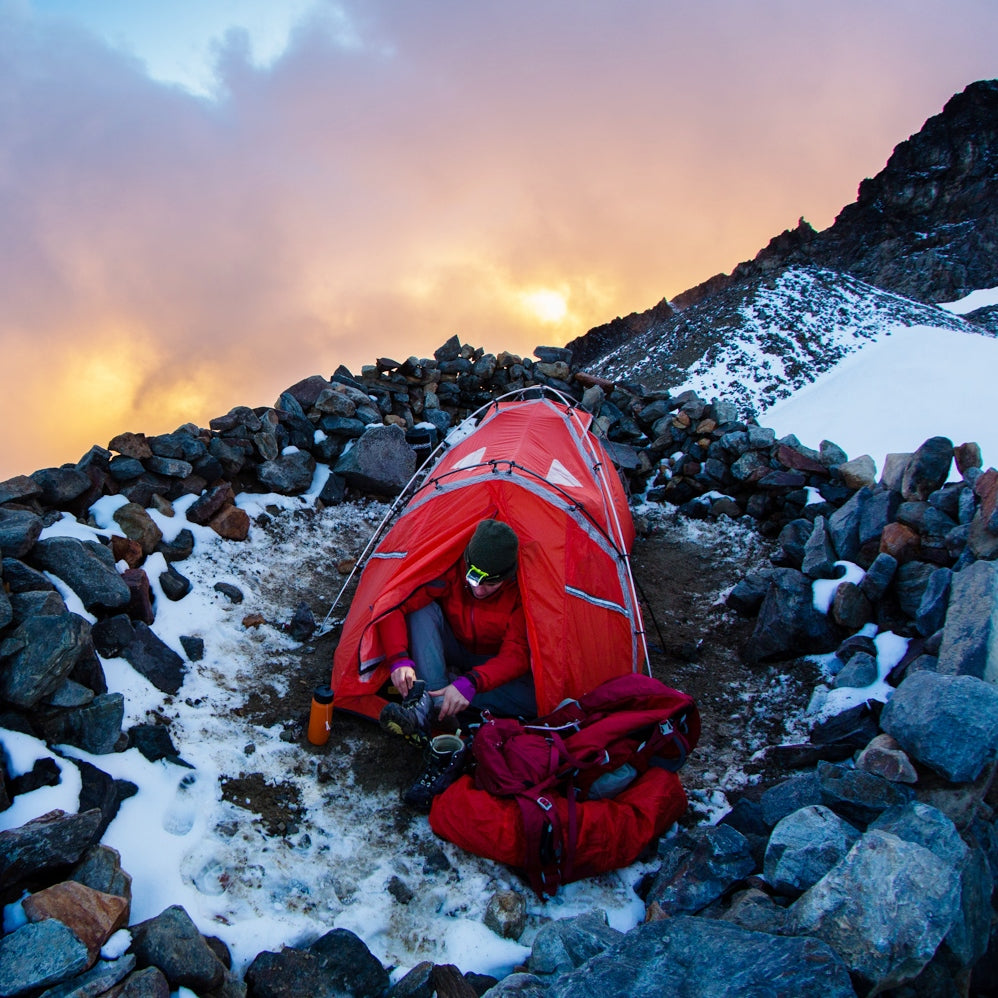
"Wait, did I read that right? Camp? In the snow?!? But it’s cold, wet, and miserable right?"
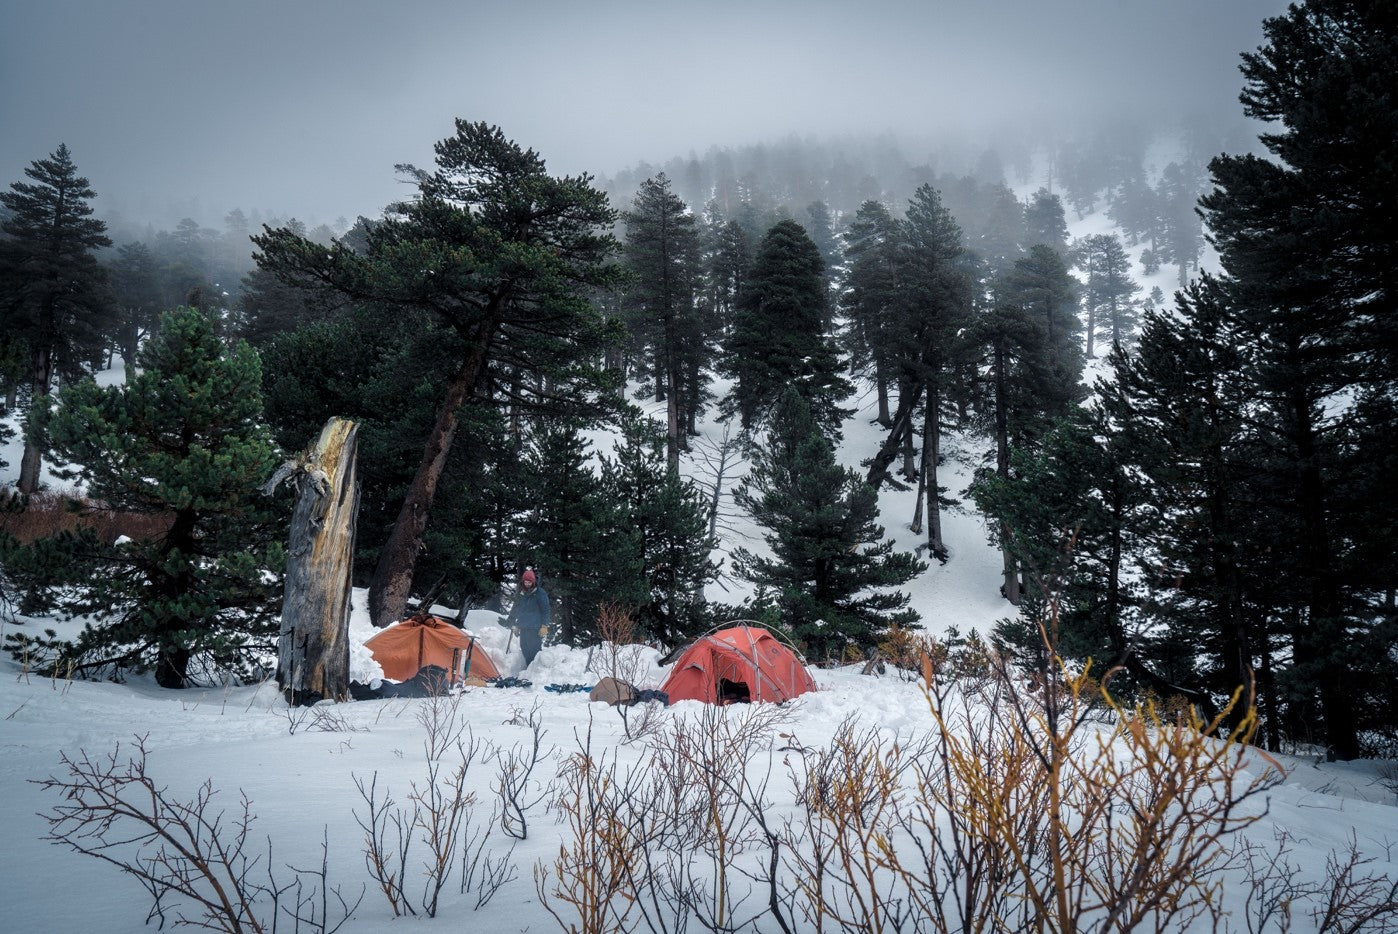
Actually, camping in the snow can be an incredible experience if you have the right equipment and know a few tricks. There's nothing quite like waking up to a fresh blanket of snow on the trees, hilltops and peaks.
Having the right clothing for the conditions is the key to an enjoyable winter camping experience.

My clothing recommendations are based on snow camping. If you're prepared for camping in snow, you'll have everything you need camping in dry winter conditions too.
One last note before we dive in. Be prepared for some sticker shock. Functional, reliable and breathable cold weather apparel can cost a pretty penny.
It's best not to take shortcuts here, as cheaper equipment will either fail or not perform adequately, just when you need it most. The potential result of cold weather gear failure is discomfort, misery, or worse: frostbite or hypothermia. None of these outcomes make for an enjoyable camping experience!
Let start with the feet and work our way up.
Socks
Warm socks are a must, yet are often overlooked when winter camping. Look for any thick Merino Wool sock or quality ski sock long enough to cover part or all of your calf. Choose socks that are at least 70% Merino wool.

Bring two (or more) pairs so when one is drying out after a long day, you can wear the other.
Bonus tip – when you crawl into your sleeping bag, take your socks off and leave them in the foot box of your sleeping bag. This will prevent your feet from sweating and you'll wake up to warm, dry socks in the morning. Warm feet + hot coffee = winning
Boots
Boots provide insulation, support, and traction while in the snow. Having a good boot can make the difference between an enjoyable trip and a miserable one. Note that some boots are rated as waterproof while others are water-resistant. Waterproof boots tend to be heavier and clunkier than lighter weight water-resistant footwear, but they're the best choice for truly wet conditions or multi-day outings.

I personally use the Garmont Momentum Boot. These boots kept me warm for three days in knee deep snow while being on the lower end of the price spectrum. Make sure you try on boots using the socks you plan on wearing. Proper fit is essential for maximum comfort and insulation.
Base Layer

The purpose of a base layer is to add warmth while wicking moisture away from your skin. Any middle to heavyweight Merino Wool base layer will suffice. I personally use the Icebreaker middle weight leggings and top. As an added plus, wool doesn't retain body odor nearly as much as synthetic fabrics do. That means fewer pieces to pack for a multi-day trip.
Bonus tip: if wool makes your skin itchy, wear a moisture-wicking t-shirt underneath the wool base layer.
Mid Layer
A mid layer provides insulation between your base layer and your shell. You can remove it during higher levels of activity to reduce sweating, then put it back on while resting or in camp to provide added warmth.
Mid layers are made of down, fleece, wool, or synthetic materials that act similar to down.

I personally use the Eddie Bauer Hooded MicroTherm down jacket for my mid layer in milder temperatures and my Mountain Hardwear Nilas Down in colder climates in higher elevations.
Outer Layer or Shell
An outer shell insulates you from moisture and wind. This is the most important piece of your upper body layering, so don't scrimp here. I personally use the Black Diamond Liquid Point Shell. I love it and highly recommend it or a similar shell made with Gore-Tex, a breathable yet waterproof fabric technology.
Waterproof Pants
The purpose of waterproof pants is the same as a shell - to keep moisture and the elements away from your base layers and skin. Some brands offer an added layer of insulation in addition to the wind and waterproof outside surface. It's up to you to determine if you need added insulation to supplement your base layer garments. Consider the expected conditions as well as your planned activities.
I personally use the Mountain Hardwear Insulated Highball pant over my icebreaker mid weight base layer.

Gloves
There's something particularly awful about cold wet hands. If you haven't experienced it, take my word for it and buy the best gloves you can afford.
It took me awhile to find the perfect gloves for cold, wet camping. I've been caught in the mountains with terrible gloves that didn't provide enough warmth or water resistance.
Never again!! I highly recommend the Outdoor Research (for quality and warranty) Highcamp Gloves. These gloves have a separate liner you can use alone when you need more sensitivity in your fingers but don’t want to expose your bare skin to the cold. The shell is fully waterproof and warm while still providing finger dexterity.
Glasses
In the snow, especially during sunny days, you will need some form of eye protection to prevent squinting, headaches, and even ‘snow blindness.
Any UV filtering glasses or goggles will work, but I personally use the Julbo Vermont Classic. They look bad-ass, fit snugly around the ear for windy conditions, and block out peripheral light that would leak in from the sides of regular sunglasses.

Balaclava
For exceptionally cold or windy days, I recommend you pack a Merino wool balaclava. It will protect your face from blowing snow while also warming your breath as you inhale.
Any Merino wool balaclava will work in this situation, however, the pricier ones tend to fit a little better while providing better breathability. Click here for a 2017 Top-List of balaclavas.
Beanie
To top everything off, you’re going to want a beanie in the snow. A beanie is nice for obvious reasons, it keeps your head and ears warm. Any warm beanie made out of fleece or wool will suffice.
I recommend anything that is large enough to covers your ears as well as the top of your head.
Well, there you go. Follow these steps and you will be warm and toasty head to toe in the backcountry during your next winter camping trip.
In Part 2 I'll cover required camping equipment along with some more tips and tricks to ensure your outdoor experience in the snow is an enjoyable one!
Happy Trails!
Connor