You can build and enjoy a warm and wonderful campfire! Kilimanjaro Gear expert Connor has the how-to tips you need be anointed Grand Zen Firemaster of your campsite.
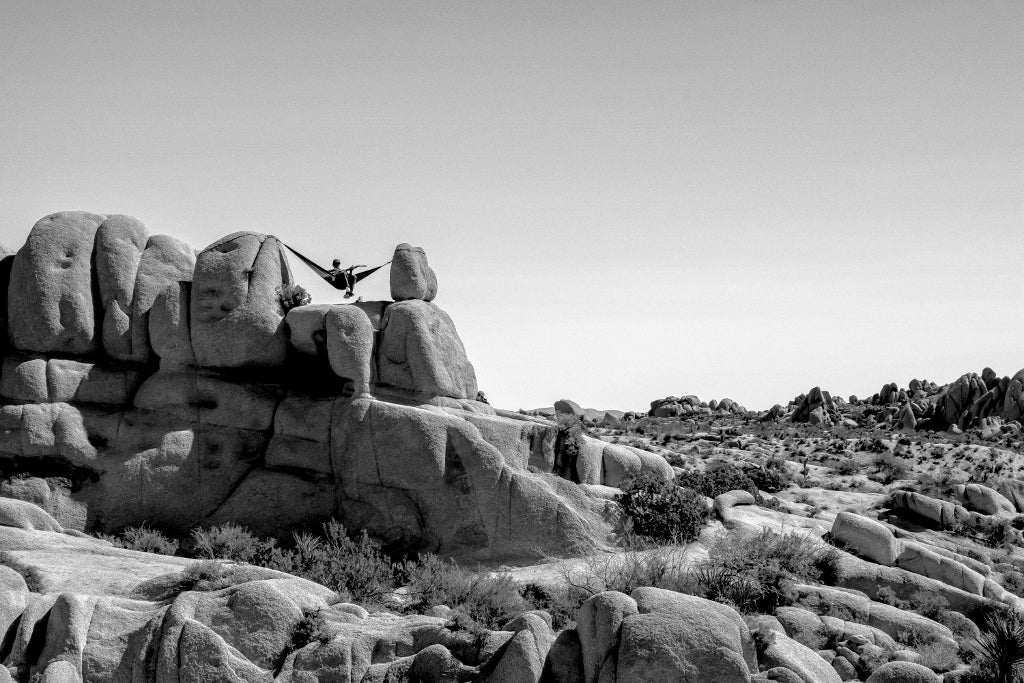
So you have all the backpacking or camping essentials. You've been outfitted with all the proper gear. You've determined what color puff jacket you want to wear. You spent hours plotting out your first camping trip.
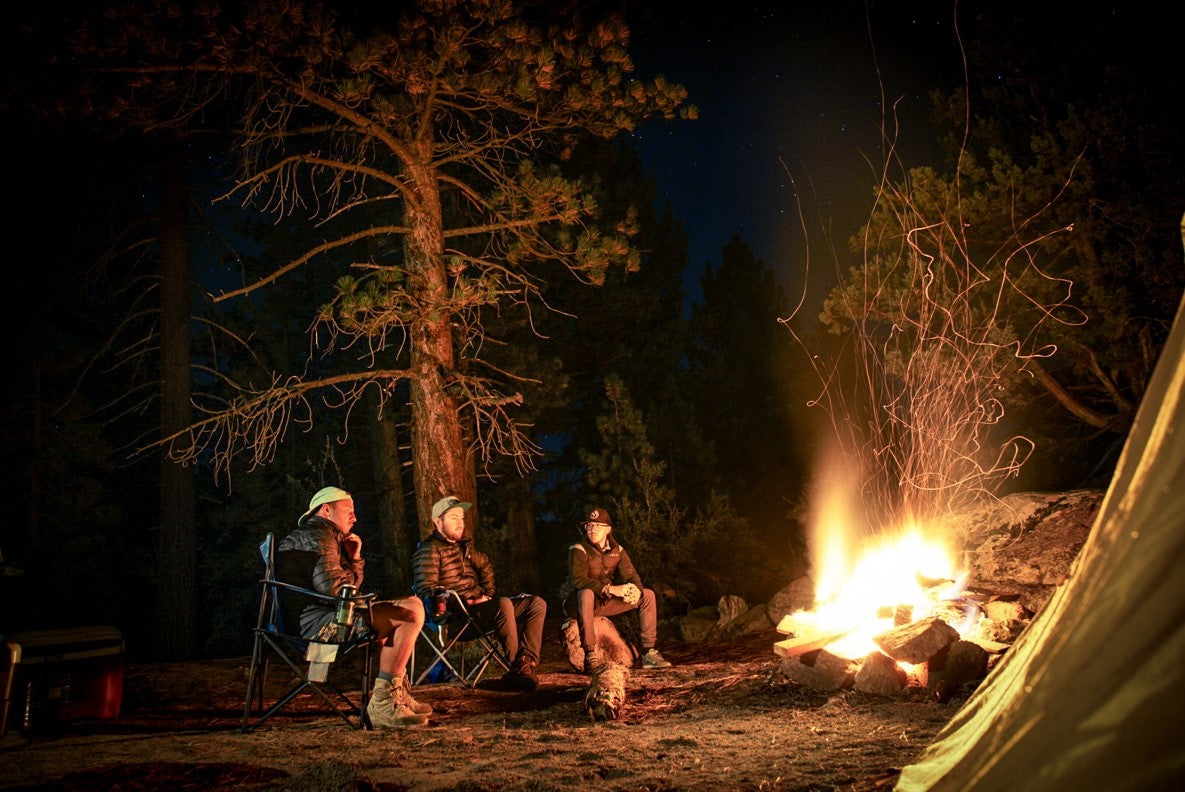
You're finally ready, you hit the road, arrive and set up camp. You pitch your tent in the most picturesque location, stow your gear and set up chairs around the fire ring.

As dusk sets in, it's time to build your first campfire. But the fire is more like a never-ending smoke plume that isn’t generating any flame, much less heat.
What’s going on? Without getting too scientific, fire is the chemical reaction of three main components to create a burn – heat, fuel, and oxygen. When you mix the three together, voilà, you have a campfire.
Many people trying to make a campfire make the simple mistake of adding too much fuel (wood) which, in turn, deprives the flame (heat) from breathing (oxygen) – creating the mass plumes of smoke that seems to follow you wherever you go.

Here are my how-to tips for building a perfect campfire, every time:
1. Build a Fire Ring
If possible, use an existing fire ring if one has been built. The ring walls should be large enough to contain the fire but not so large to risk toppling over into the fire. About 8-12 inches will suffice for your standard size campfire. If there's no pre-installed ring, gather rocks and build one, or dig one about 6" deep by 36" in diameter.
2. Gather Wood
A successful fire starts out with gathering the right fuel. Three kinds of fuel actually: tinder, kindling, and wood.
Tinder is the smallest and first pieces you will be burning. Tinder is anything such as tiny twigs, dried pine needles, leaves, or things that burn easily such as paper. A good rule of thumb is tinder should be no larger than the diameter of your pinky finger.
Get a nice loose pile of tinder built and light it in multiple spots. Tinder burns quick so plenty of kindling needs to be at the ready to increase the size of your fire.
Kindling is the second component of the fire making process. Kindling can be anything up to the size of your wrist and is usually small tree branches and larger twigs found on the ground.
It can be tempting to throw larger pieces of wood on the fire at this point. Hold off though. You need to allow time for the bed of coals beneath the fire to grow and for the heat to intensify. Continue to add kindling as the fire grows larger. Avoid using pinecones or kindling with large amount of sap or bark on it as these usually create larger amount of smoke.
Logs are the third and final stage of the fire making process. It is here where you can add logs from the size of you arm to the size of your thigh depending on how large you want the fire.
The type of logs you use will also depend on how quickly the fire will burn. Pine is normally easy to ignite and does not need much heat to burn however, it burns quickly.
By contrast, Oak needs a lot of heat to burn without smoking. Once lit, though, Oak can burn for a very long time, reducing the amount of wood you will need to gather.
3. Build the Fire
Once you have all the necessary fuel, knowing how to place the wood in the fire ring for adequate airflow will increase your chances of having a warm campfire.
The two most popular log shapes are the “teepee” and the “log cabin.” The tee-pee is my personal favorite as it uses less wood and allows me to have more control over the size of the fire.
To build the teepee, make a small pile of tinder in the center of the fire ring. Then, grab three medium sized pieces of kindling or some of your smallest logs and balance them together in the shape of a teepee over the small pile of tinder. Ignite the tinder.
To build the log cabin, space out two logs 8-12 inches apart from each other. Then stack two more logs perpendicular the the first two logs; creating a # shape. Repeat this process until the desired log height is reached. Once completed, fill in the center of the log cabin with tinder and kindling and ignite.
4. Extinguish the Fire
Once you decide to cash in for the night or break camp, you are going to need to put out your fire as well as all remaining embers. Simply pour water on the fire and mix the water with the ashes.
If water is unavailable, smother the fire thoroughly with dirt and sand, mix the dirt with the ashes, and repeat until no heat is radiating from the fire. Many forest fires have been started due to untended campfires and campfires that were not extinguished properly. Before leaving the campfire, be certain all embers and hot charcoals are extinguished.
There you have it! 4 easy steps to building your very own campfire. Building a campfire is just like many other skills in which the more you practice, the better you get. You will soon find yourself able to create campfires quickly and with little effort; even in the snow and rain (more on that in Part 2)
Now get outside and get camping!