Here are 5 how to tips for taking better nighttime photos in the great outdoors, courtesy of Kilimanjaro Gear expert Connor. He should know...he's taken thousands of nighttime photos in every outdoor setting you can imagine.

Illuminating a dark desert road in Joshua Tree, CA
Here's Connor:
Nighttime photography can be challenging. It's usually cold, it's dark (of course), and it takes patience and practice to perfect. It's worth it though. A well-composed nighttime photo can be spectacular.
Knowing how to properly capture photographs in the dark can make nighttime photography much more enjoyable (and quicker). Follow these simple tricks and you’ll be amazed how much your photographs will improve.
1. Use a Tripod
Having a stable platform to mount your camera on is a must. Any slight movement (even a gentle breeze) can shake or vibrate your camera, resulting in a blurry photo. For the best results, it is important to use a heavier, more stable tripod.
In my experience though, heavier tripods are harder to transport, more expensive, and difficult to lug around while camping or backpacking. After testing various tripods, I’ve found the best compromise between weight and stability to be the Joby GorillaPod. It's relatively lightweight, yet stable on uneven ground. And you can wrap the legs around rocks, fence posts or branches to adapt to ground conditions in the outdoors.

A blurry shot - the result of a cheapo tripod that couldn't withstand the Alpine winds. This ruined photo pains me to this day!
2. Try a Wide Angle Lens
Choosing the right lens for nighttime photography is incredibly important. It can make or break the shot. I’ve met several photographers who use slower lenses with fields of view that are around 85mm.
When using lenses of this field of view, you can’t quite capture the grandness of the night sky. I’ve found the best focal length for night photography to be between 12mm and 24mm. You can even pick up a couple cheap wide angle lenses strictly for nighttime photography for around $250.
If you are just taking photos at night and not necessarily of the sky, moving up to a 50mm should suit your needs.

3. Use a Flashlight or Headlamp
Add extra style points to your composition by using a flashlight or headlamp to illuminate some of the foreground in a shot. I usually try this when I have trees, rocks, tent, or a subject I want to illuminate against the night sky.
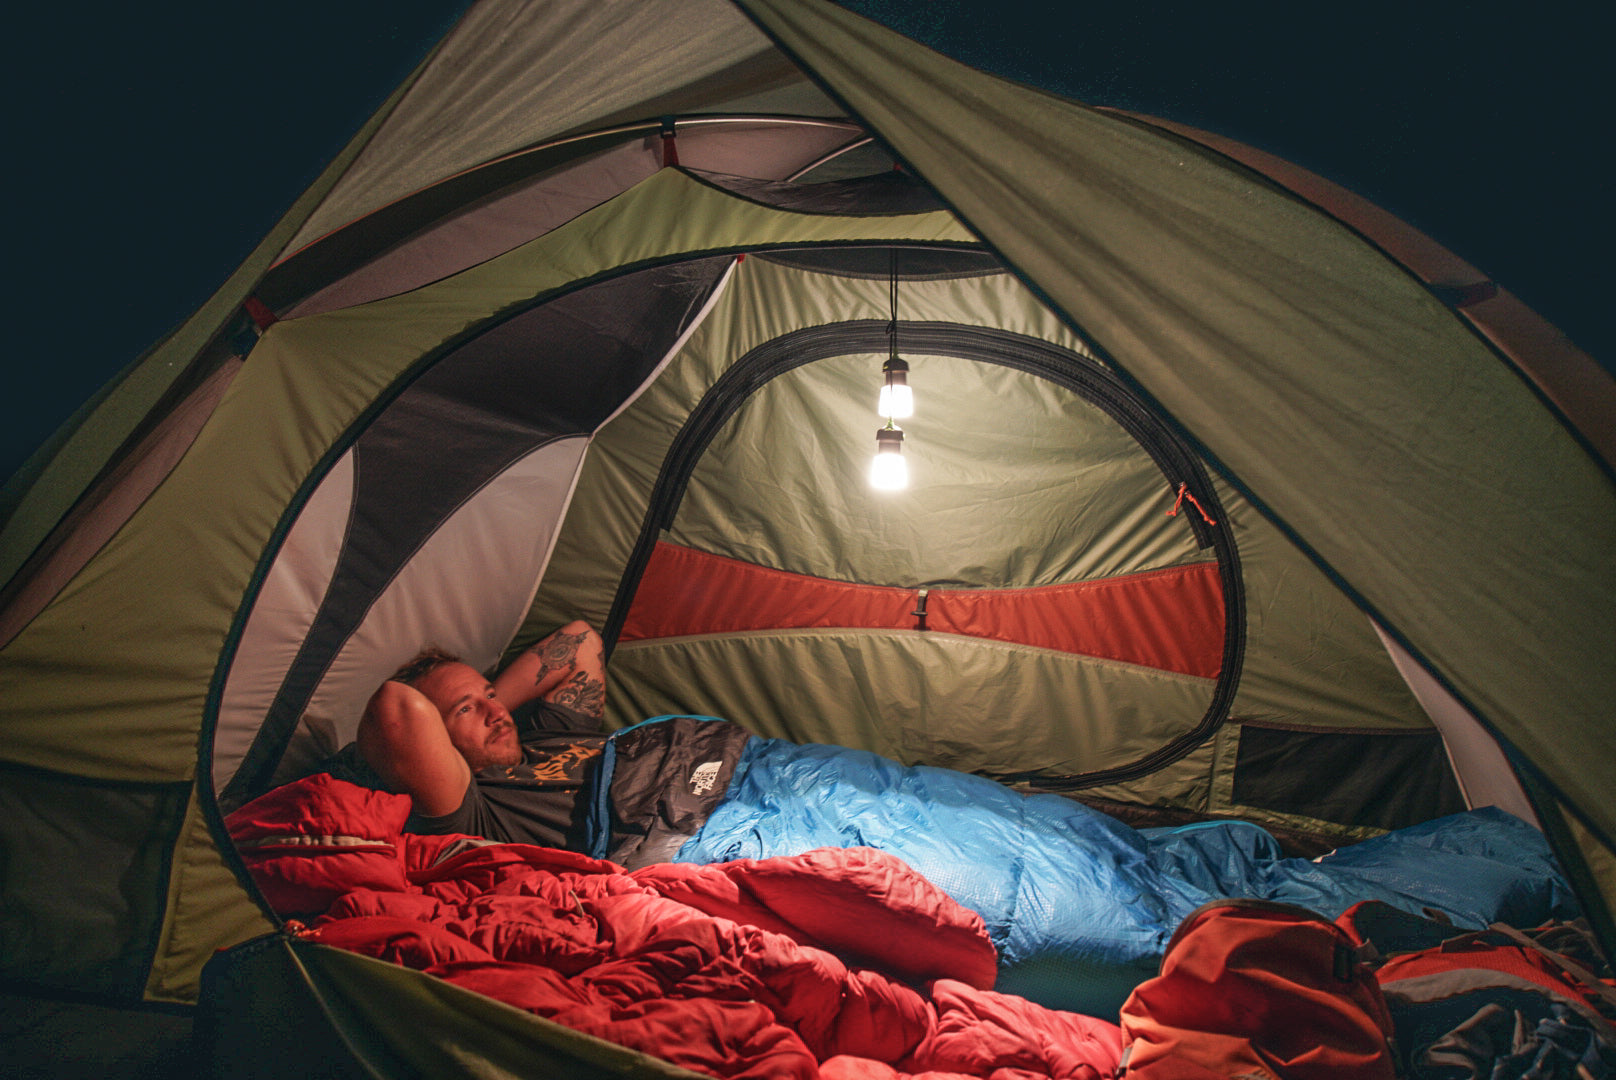
Be careful to use a low power setting on your light to illuminate the foreground as adding too much light can create an overexposed image. I personally use the Kilimanjaro Headlamp for lower power situations and the Kilimanjaro CREE XP-L 1000 lumen flashlight for situations that need more lighting power.


4. Set a High Aperture
5. Try These Tips and Tricks
Use a shutter release remote to control your shutter without touching the camera, rather, a remote. This prevents the camera from shaking and causing a blurry image and allows you to take long exposures that can last hours.
If you can’t use a shutter remote, use the self-timer. I personally do not own a shutter remote and want to carry the extra weight of one when backpacking. Instead, I use the camera’s built-in self-timer for 2 seconds. Once I press the shutter button, the camera has two seconds to stop shaking from me pushing he button. This method has yet to let me down (it’s cheaper too)
When lining up your shot, crank your ISO to ¾ full power (If your camera goes to 100,000 ISO, go to 75,000) and shoot a 1-second exposure. This photo will be incredibly noisy, blurry and unusable but it allows you to frame up your shot without having to take multiple 30-second exposures just to get your shot aligned.

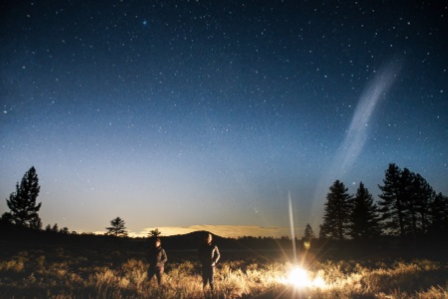
The night sky in Kings Canyon National Park, CA
I hope these tips help you the next time you decide to go night shooting. The first few times will be learning experiences, so don't go except any once-in-a-lifetime shots for a while.
With practice and experimentation, you'll soon be able to choose what you want to shoot, take a sample shot, and line up your real shot in under 3 minutes. Be patient. Photography is just as much about the experience as it is the shot. And bonus - you'll be outdoors while you're learning!
Happy shooting.
Connor